

Let’s use a “microDake adapter” where microbit becomes a personal computer. First of all, prepare microbit. And prepare a general PC and USB <-> microUSB cable to write a hex file.

Please download the latest microDakeOS from here.

Connect the microbit to the personal computer.

Then external storage called “MICROBIT” will appear, so write “ichigonquest.ubit.dj.en.hex” with drag & drop. The picture is mac, but it is the same on Windows. When writing is completed, microbit will reset automatically, but written hex file can not be seen.

OK, remove the cable.
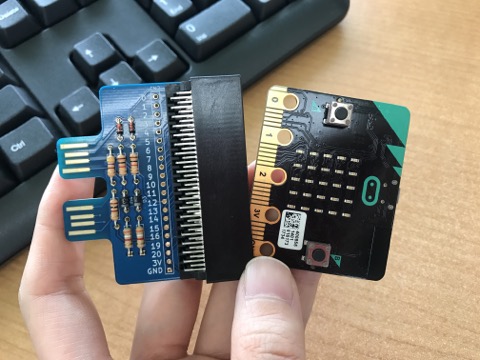
Attach to the microDake adapter.
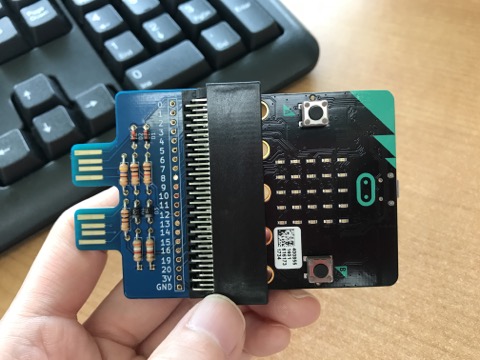
It is slightly stiff, but put your strength.

If you plug it into IchigoIgai such as a SchoolSet,

you can use like small computer like IchigoDake.

Of course, if you stick to DakeJacket, you can operate Cam-Robo.
Unlike standard IchigoDake,
- Two buttons
- LED 5 x 5
- Accelerometer
- Wireless communication
there are lots of fun.
IchigonQuest used this time does not need keyboard typing. Enjoy more and more programming!
.
